Few things bring operations to a halt faster than a failed pump seal. Whether you’re transferring water, fertilizer, or chemicals, a leaking seal means product loss, contamination risk, and costly downtime. Left unchecked, it can even damage the pump itself – turning what could have been a simple seal replacement into a full rebuild or emergency purchase.
That’s why understanding pump seal failure – and how to prevent it – is critical for anyone working with centrifugal pumps. Seals may be small components, but they play a big role in keeping your system leak-free, efficient, and reliable.
What Causes Pump Seal Failure?
Pump seals are designed to prevent the liquid being transferred from migrating down the shaft and escaping the pump. When they fail, leaks and equipment damage follow. Understanding the most common causes of seal failure can help you prevent problems before they start.
Whether you're outfitting new OEM equipment or upgrading existing systems, Banjo’s catalog of pumps, valves, and liquid handling components ensures your system performs under pressure.
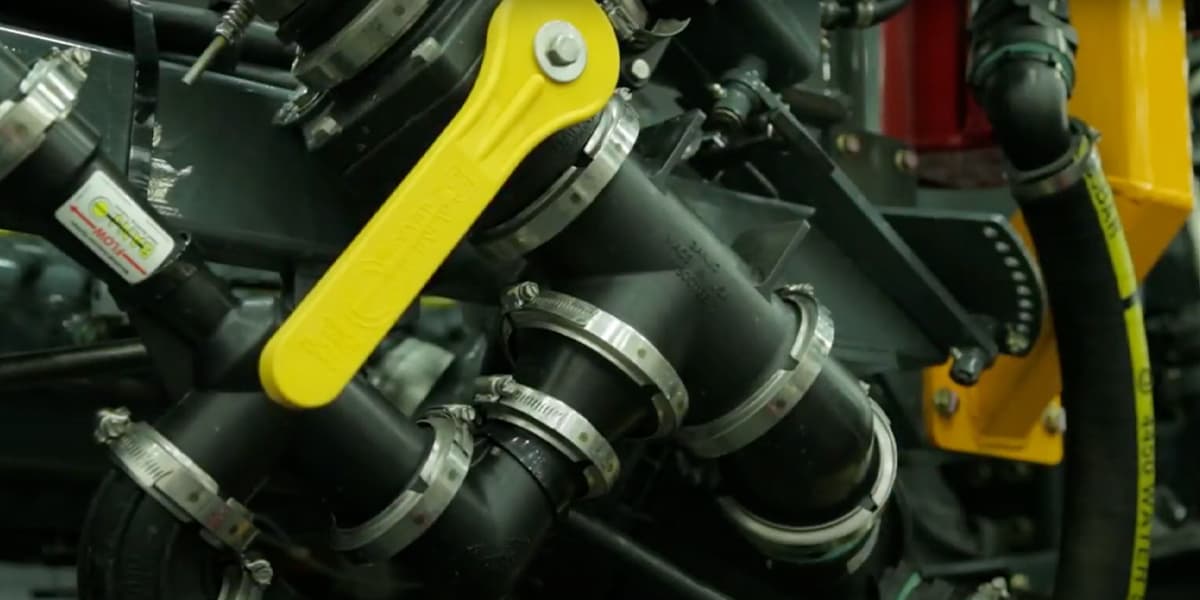
Dead-Heading
This occurs when a pump is running but the outlet valve is closed. With nowhere for the liquid to go, pressure and heat quickly build up inside the pump, which can cause seals to overheat and crack.
Starving The Pump
If the inlet port is restricted or blocked, the pump is “starved” of fluid. This creates cavitation (air bubbles imploding inside the pump), which puts extra stress on seals and can lead to rapid deterioration.
Heat
Centrifugal pumps generate heat during operation, and if seals aren’t cooled by proper liquid flow – or if they’re not designed to handle high temperatures – they can warp, harden, or lose elasticity.
Chemical Incompatibility
Not all seal materials work with all fluids. A seal that performs well with water may swell, soften, or crack if exposed to harsh chemicals. Choosing the right seal material is critical for longevity. Here are a few options:
- EPDM – Best for water-based solutions, fertilizers, and many mild chemicals
- FKM (Viton® type) – Resistant to oils and aggressive solvents
- BUNA-N – Good choice for petroleum-based fluids
How to Prevent Seal Failures in Your Pump System
While pump seal failures are common, most can be avoided with the right precautions. A few proactive steps can extend the life of your seals and keep your centrifugal pump running efficiently.
Choose the Right Seal Material
The first line of defense is making sure your seals are chemically compatible with the liquid you’re moving. EPDM, FKM, and BUNA-N are designed for different applications, and using the wrong one can shorten seal life dramatically. Always match the seal material to your media before putting the pump into service.
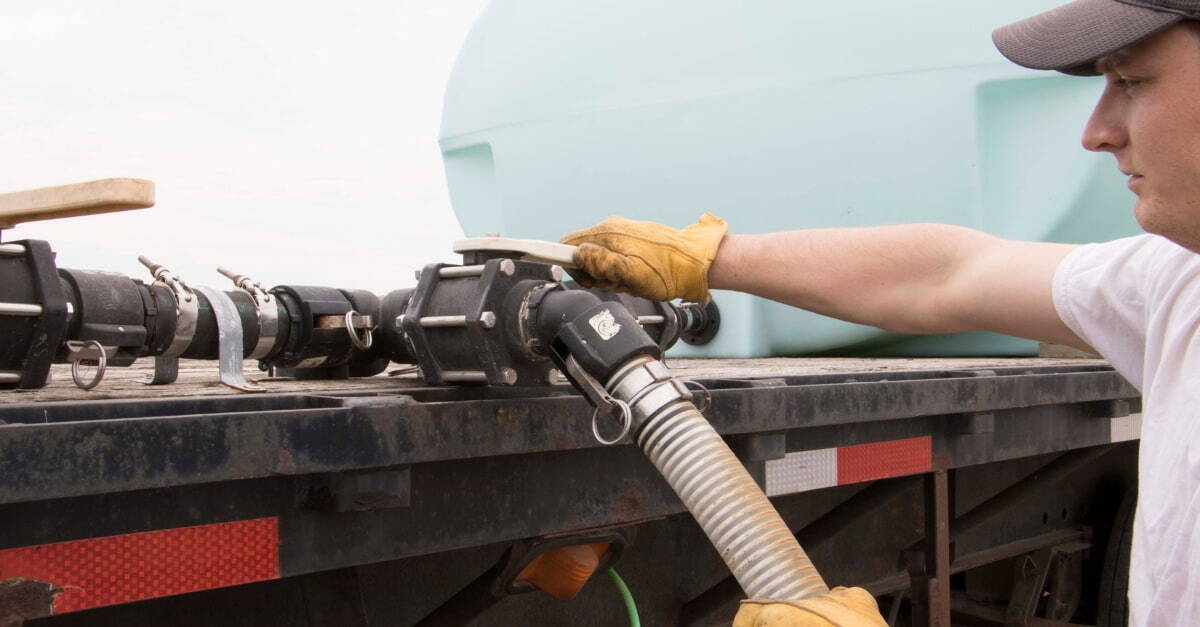
Ensure the Pump is Primed
Upon initial use, the pump must be filled with the liquid being pumped. In applications where the pump must lift the liquid, it is recommended to use a foot valve at the end of the suction line. This keeps the suction hose full and helps to ensure that the pump remains primed for subsequent use.
Perform Regular Maintenance
Seals wear down faster when pumps are left dirty or filled with product between uses. Draining and flushing your pump after operation – especially before long-term storage – prevents residue buildup, corrosion, and unnecessary stress on the seals.
Avoid Flow Restrictions
Dead-heading (closing the outlet while the pump is running) or starving the pump (blocking the inlet) puts seals under intense stress. Ensuring that ports remain open and unobstructed during operation prevents heat and cavitation, two leading causes of seal failure.
How to Fix a Pump Seal Leak
Even with the best precautions, pump seals can wear out over time. The good news is that most seal leaks can be repaired without replacing the entire pump.
Step 1: Identify the Leak
Check around the pump housing and shaft. A steady drip or spray of liquid is often a sign that the seal has failed.
Step 2: Shut Down and Drain the Pump
Always stop the pump and relieve system pressure before attempting a repair. Drain the liquid to prevent spills during disassembly.
Step 3: Disassemble and Inspect
Remove the pump housing to access the seal. Look for cracks, hardening, or swelling in the seal material. These are indicators that the seal has worn out or was chemically incompatible with the fluid being pumped.
Step 4: Replace the Seal
Install a replacement seal designed for your specific pump model and application.
Step 5: Reassemble and Test
Once the new seal is installed, reassemble the pump and run a quick test with water to confirm the leak has been resolved.
PREVENT DOWNTIME WITH THE PATENTED SEAL DESIGN OF THE M350 PUMP
When it comes to preventing seal failures, the right pump design can make all the difference. That’s why Banjo developed the M350 Transfer Pump with FastFlow™ Technology – a high-performance solution engineered to keep your operation running without interruption.
What sets the M350 apart is its patented seal design, built specifically to address the most common causes of pump seal failure. By protecting against overheating, minimizing wear, and ensuring consistent sealing under tough conditions, the M350 reduces the risk of leaks and extends pump life.
Check out this video to see the full capabilities of the pump:
Backed by Banjo’s 65+ years of expertise in liquid handling, the M350 is more than just a pump – it’s a trusted solution for operators who can’t afford failures in the field or on the job site.
Want to get the M350 for your operation? Find a distributor near you today.